Purchase and install the app through the App Store before setting up connections. Before buying, check the compatibility section on the product page to make sure your device is supported. System requirements are listed on the App Store page. If the store says your device isn't compatible, check the device and system details it specifies; changing Shadowrocket settings won't resolve compatibility issues.
After verifying the product, complete the purchase using the App Store's payment and identity verification process. The store and system display download progress, payment results, and installation status. If payment is complete but installation is still pending, check the store message, available storage, and your current network. Don't buy again just because the app icon hasn't appeared immediately.
Authorize the VPN Configuration on First Connection
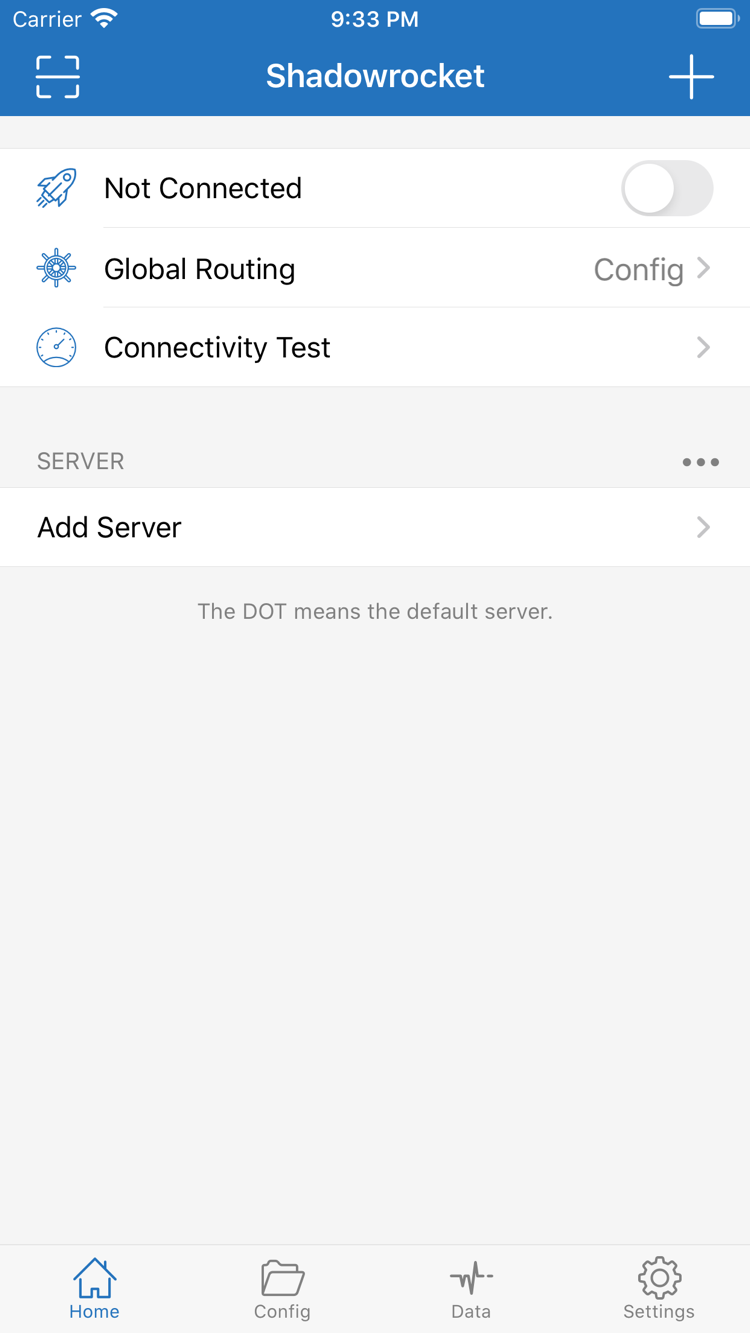
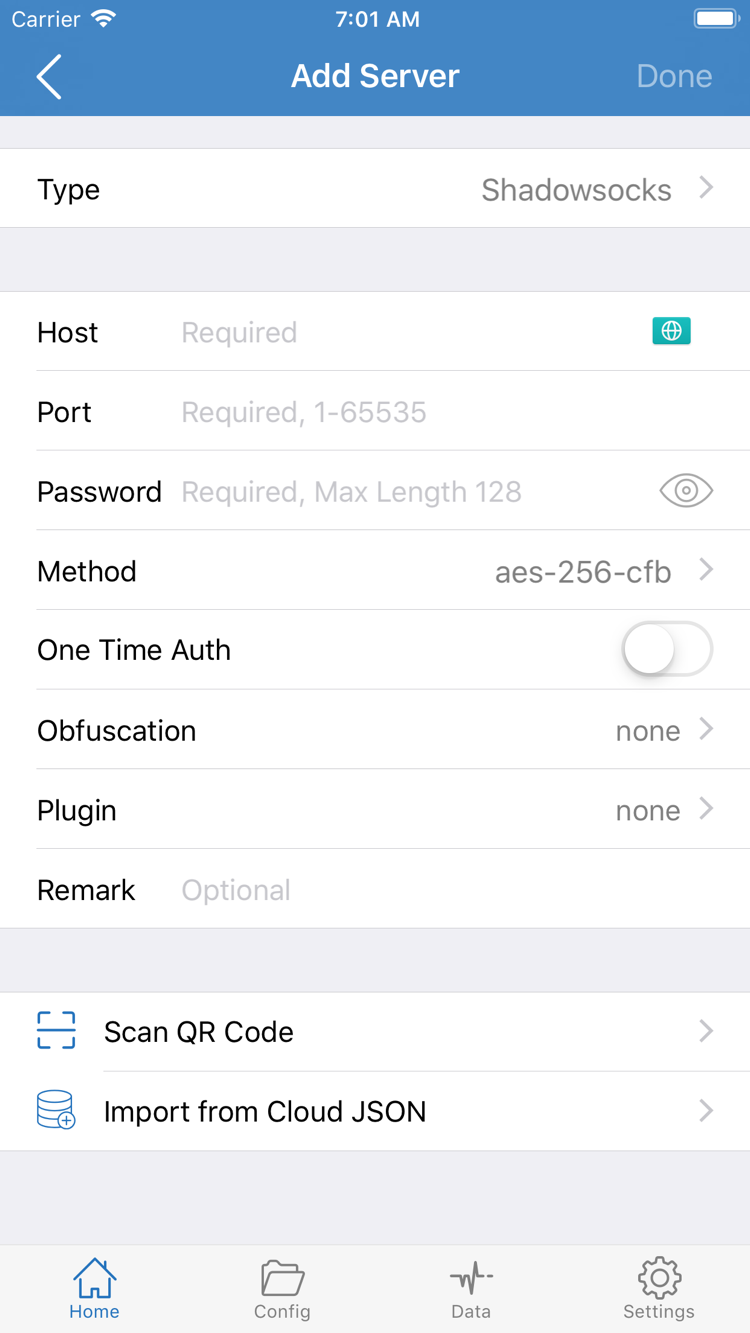
After opening Shadowrocket, check Home, then import your existing subscription or enter your server details using Add Server. The first time you connect, the system may ask permission to add a VPN configuration and require your device passcode or system authentication. This allows the app to create a system network configuration. It does not ask you to buy the app again or confirm that your server settings are valid.
Continue only if you're sure the request comes from Shadowrocket and understand what it does. If you cancel for now, you can return to the app and start the connection again when needed. Authorization and a successful connection are separate steps: the address, port, protocol, and credentials must still match your own details. Allowing the system configuration won't correct incorrect settings.
Before connecting, check Global Routing: Config is configuration mode, Proxy is proxy mode, and Direct is direct mode. If you're new to the app, understand the current mode and active configuration before changing anything. Connectivity Test can help check connectivity, but a single test does not guarantee access will work for every app or destination.